#
Multimap Sample
This scene shows the basic setup needed to build an AR app with our localization features.
Log in to the and download your map files of a pre-mapped location.
This sample requires you to first map a location with the Mapper App
Open the MultimapSample scene found in the "Assets/Samples/Immersal SDK Core/2.x.x/Core Samples/Scenes/" folder.
#
Downloading Your Maps
Log in to the developer portal and download your map files of a pre-mapped location.
#
Overview of the scene
The scene is very similar to the Content Placement sample. The difference is the lack of content placement functionality.

#
Using the sample
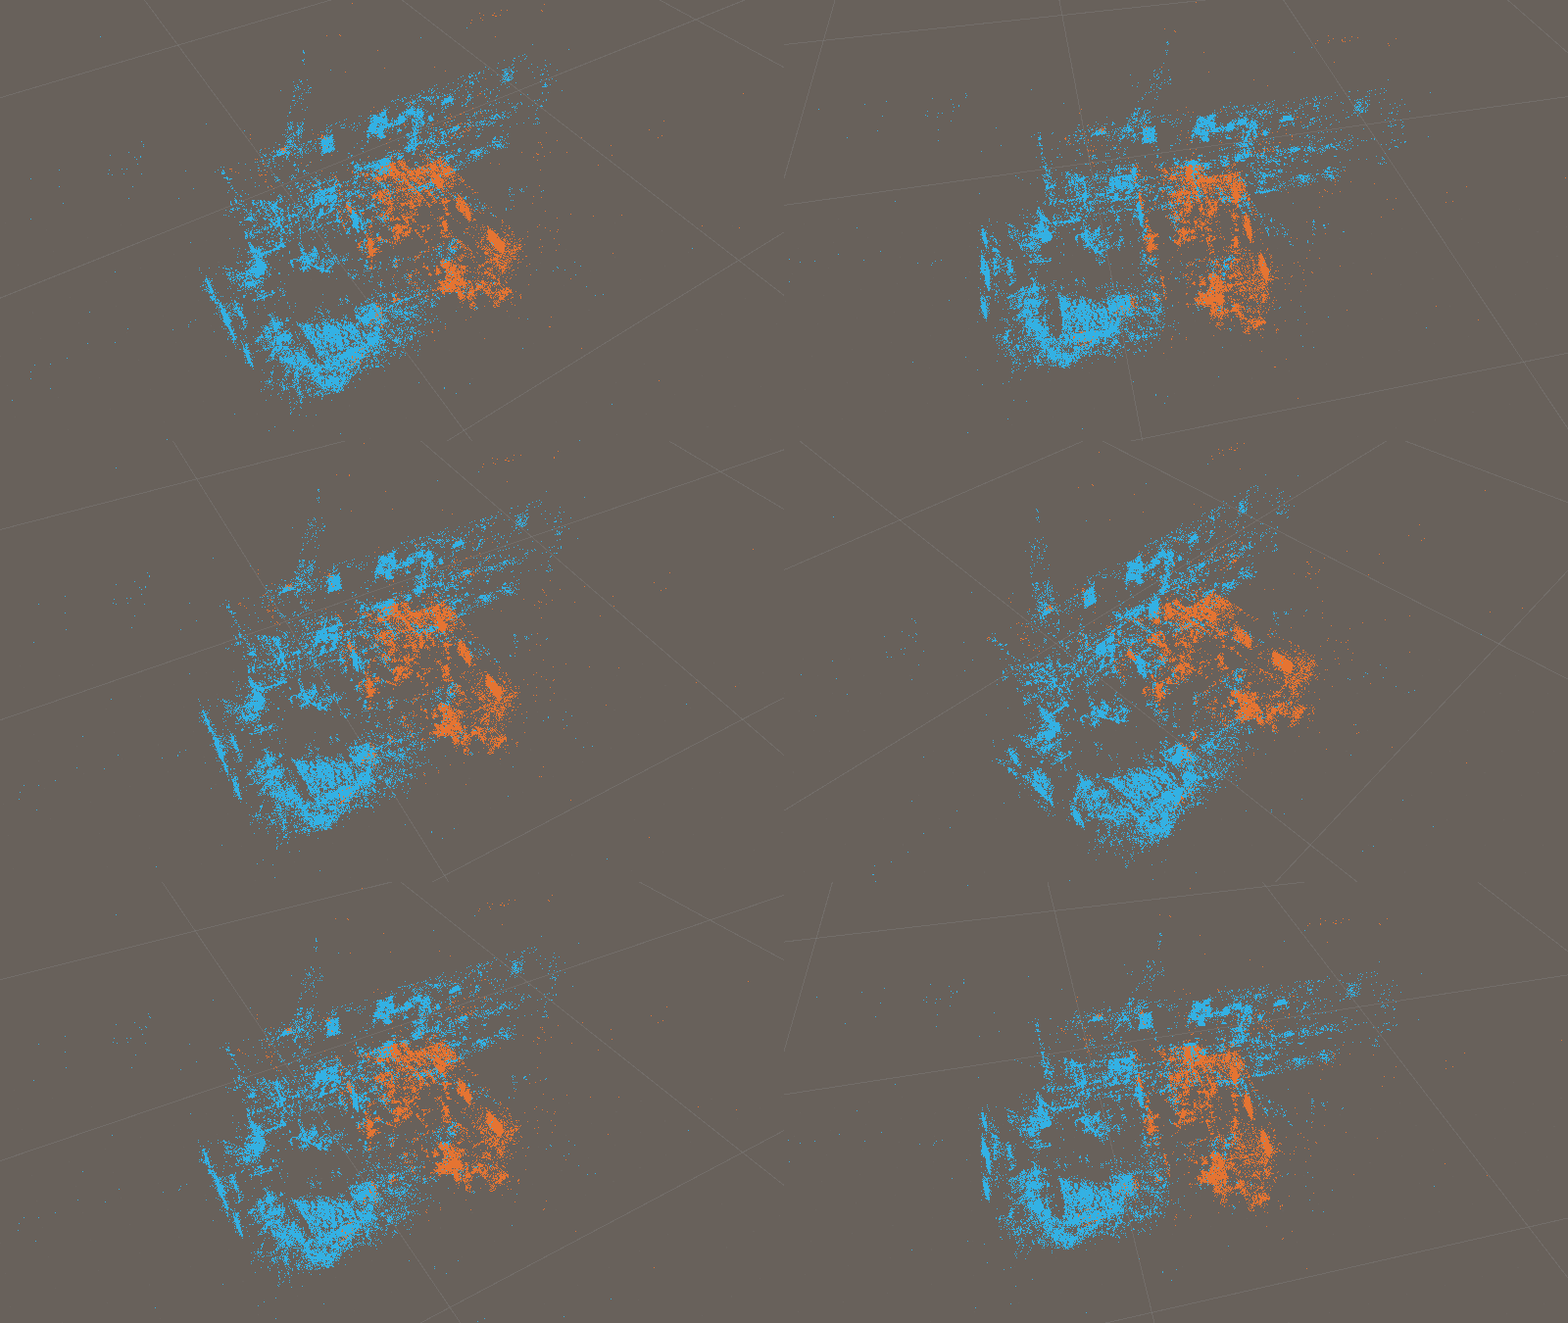
When you open the scene, you will see 3 XR Maps and their point cloud previews in the scene.

You can have as many XR Maps in the scene as you need, but having just one like in the Content Placement sample is fine too.
You can move and rotate the XR Space and XR Map game objects. Localization will take any edits you make into account. This is a key feature of our multimap support.
When the XR Map transform is reset, the pivot of the map is where the Anchor Image was taken.
#
Adding GLB file
To add mesh for your map you can download .glb file from dashboard and add it into the scene to place content more easily and accurately.
By default unity does not support the import of .glb file so you need to add glTFast package via package manager.
Follow these steps to to add the glTFast package.
- On top bar in unity Editor Go to "Window" > "Package Manager".
- It will open new window for package maneger.
- Click "+" button on top Left and add "Add package from git url"
- Paste this in the bar 'com.unity.cloud.gltfast' and click "Add".
- Now you can import .glb files in your project.

Import .glb file for good visualization
Note !! Maps created with RealTime mode dont have .glb files. You can also use glb files created with "polycam".
#
Placing AR Content
The point cloud preview can be used to accurately place AR Content directly in the Unity Editor, which is very handy.
The Quick Tip video below shows how you can move and rotate the maps to fix any orientation problems and how to place content using the preview point cloud as a reference.
#
Building and testing
- Place your downloaded map files into the XR Map game object's map file slots in the inspector and align the maps.
- Open Build Settings (Ctrl + Shift + B) and make sure only the MultimapSample is included in the Scenes in Build.
- Change your Player Settings if necessary. It's a good idea to change the Product Name and Package Name so the app will not overwrite a previously installed app on your device.
- Build the app and install it to your device.When you start the app and look around at the location you mapped, the device should localize and find its pose in just seconds.If you set the XR Map Render Mode options to Editor and Runtime, you should see the point cloud previews of the maps align to the real world as poses are found.